Honda Benly CA95 Engine Assembly & TIMING
Posted: Fri Oct 05, 2007 11:24 pm
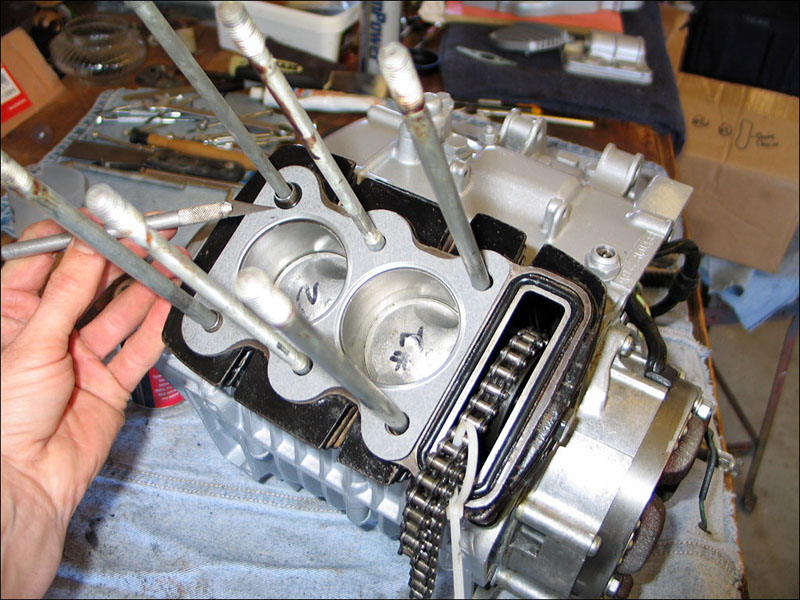
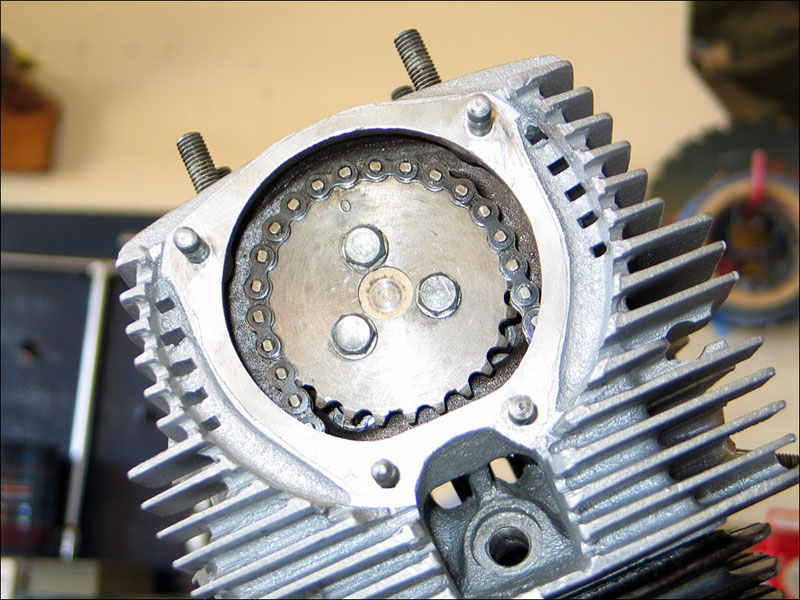
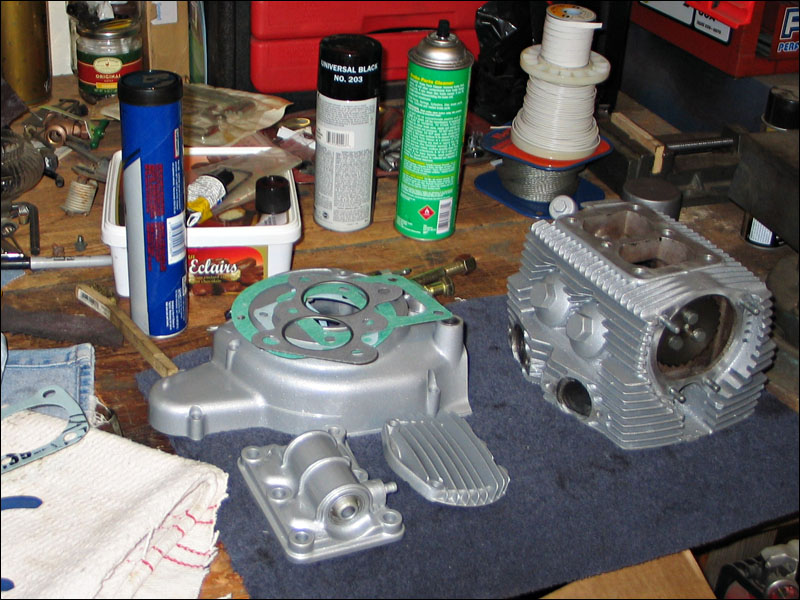
Tonight I assembled the cam and adjusted the valves in order to finish assembling the Benly 150 head. I also had to paint the last engine part which was the tachometer cover which was needed to hold the one side up of the camshaft which is needed before you can adjust the valves. These are the last steps before installing the cylinder.
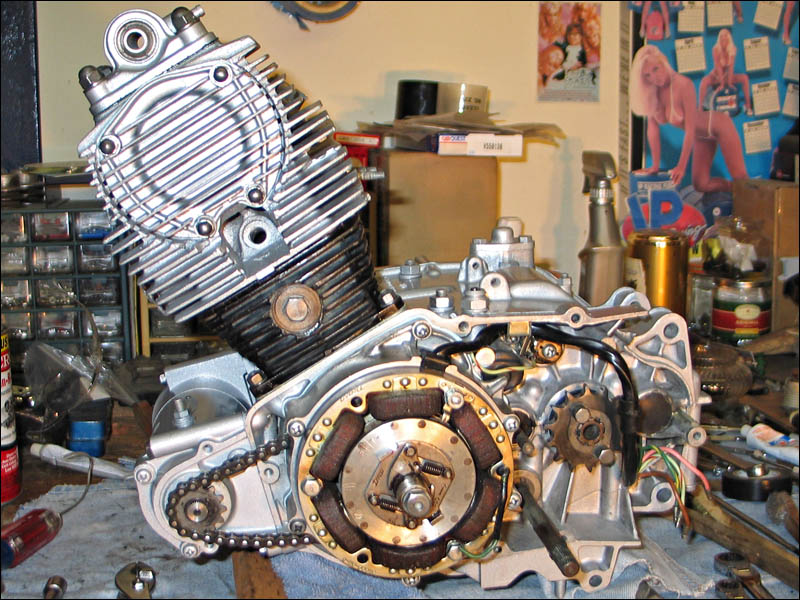
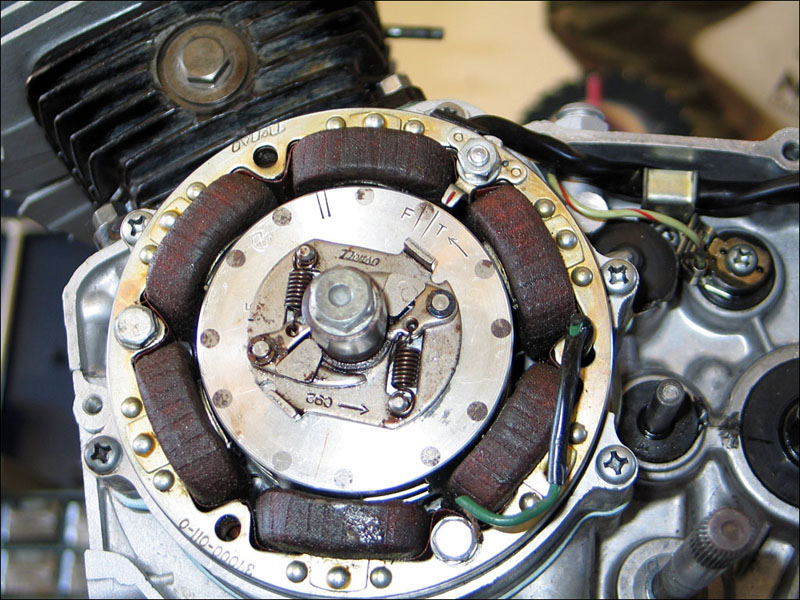
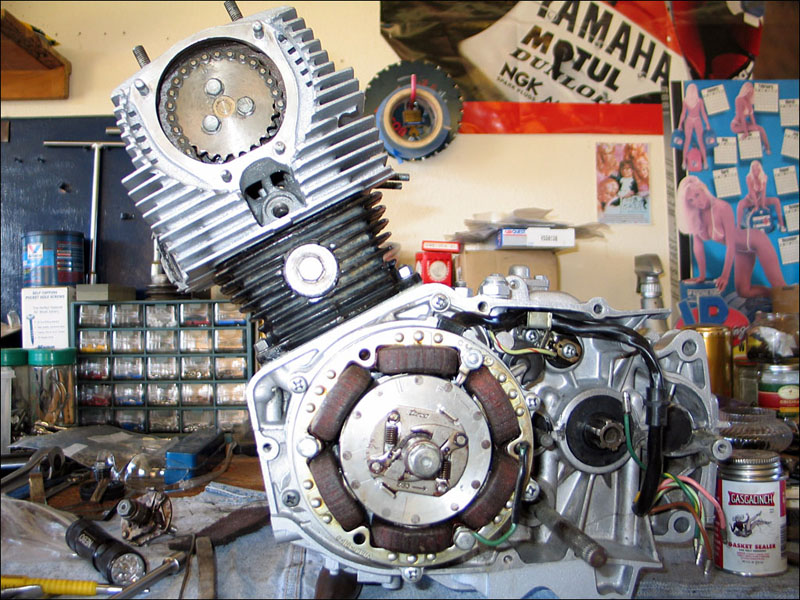
Now I have to be careful to put the right number of guides back into the cylinder holes before I attempt to slide the cylinder back down onto the transmission. Of course I need to install the piston rings on the CA95 pistons so I can check them and file them down if needed. I made sure to oil the cylinder down as soon as I got it back so the raw iron wouldn't start rusting on the spot. Basically I just am double checking everything and tomorrow morning after a cup of coffee I'll be putting the Benly engine together. I can't wait to see what it looks like all in one piece! Here is a couple Benly 150 engine pictures.

I have detailed pictures of taking both engines apart so after viewing these I'll have no doubts about how many guides there are and exactly where they go.
Now I have to be careful to put the right number of guides back into the cylinder holes before I attempt to slide the cylinder back down onto the transmission. Of course I need to install the piston rings on the CA95 pistons so I can check them and file them down if needed. I made sure to oil the cylinder down as soon as I got it back so the raw iron wouldn't start rusting on the spot. Basically I just am double checking everything and tomorrow morning after a cup of coffee I'll be putting the Benly engine together. I can't wait to see what it looks like all in one piece! Here is a couple Benly 150 engine pictures.
I have detailed pictures of taking both engines apart so after viewing these I'll have no doubts about how many guides there are and exactly where they go.